Record Video With Virtual Background: Your Complete Guide

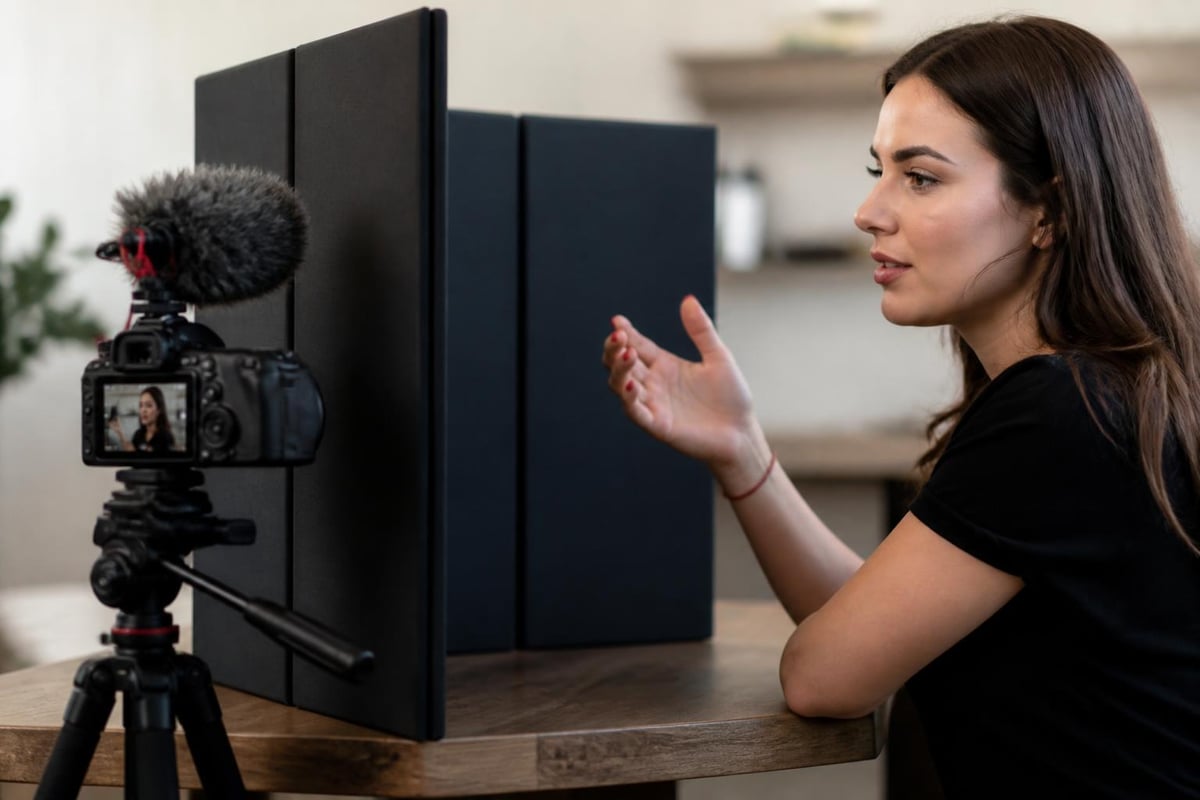
Let's be honest - not everyone has a perfectly organized home office or a professional studio space for recording videos. Maybe you're sitting in your bedroom with laundry in the background, or perhaps your kitchen is visible behind you during work calls. That's where virtual backgrounds come in handy. The ability to record video with virtual background has become a game-changer for content creators, remote workers, educators, and anyone who wants to look professional without investing in expensive equipment or studio setups. In this guide, we'll walk through everything you need to know about recording videos with virtual backgrounds, from choosing the right tools to mastering the techniques that'll make your recordings look polished and professional.
Why Virtual Backgrounds Matter in 2026
The shift to remote work and digital content creation isn't slowing down anytime soon. Virtual backgrounds have evolved from a novelty feature to an essential tool for maintaining privacy, professionalism, and brand consistency.
When you record video with virtual background, you're not just hiding a messy room. You're creating a controlled environment that keeps viewers focused on your message rather than what's happening behind you. Virtual backgrounds use sophisticated technology to separate you from your actual surroundings and replace them with images or videos of your choice.
The Benefits That Actually Matter
Privacy protection tops the list for many users. Not everyone wants to broadcast their home environment to colleagues or the internet. Virtual backgrounds let you maintain boundaries between your personal and professional life.
Brand consistency is another huge advantage. Companies can ensure all team members appear against branded backgrounds during customer-facing videos, creating a cohesive professional image regardless of where people are working from.
Here's what virtual backgrounds can do for you:
- Eliminate distractions and keep viewers focused on your content
- Create a professional appearance without dedicated office space
- Protect your privacy by hiding personal belongings and living spaces
- Maintain brand consistency across team recordings
- Add creative elements that enhance your message
The Technology Behind Virtual Backgrounds
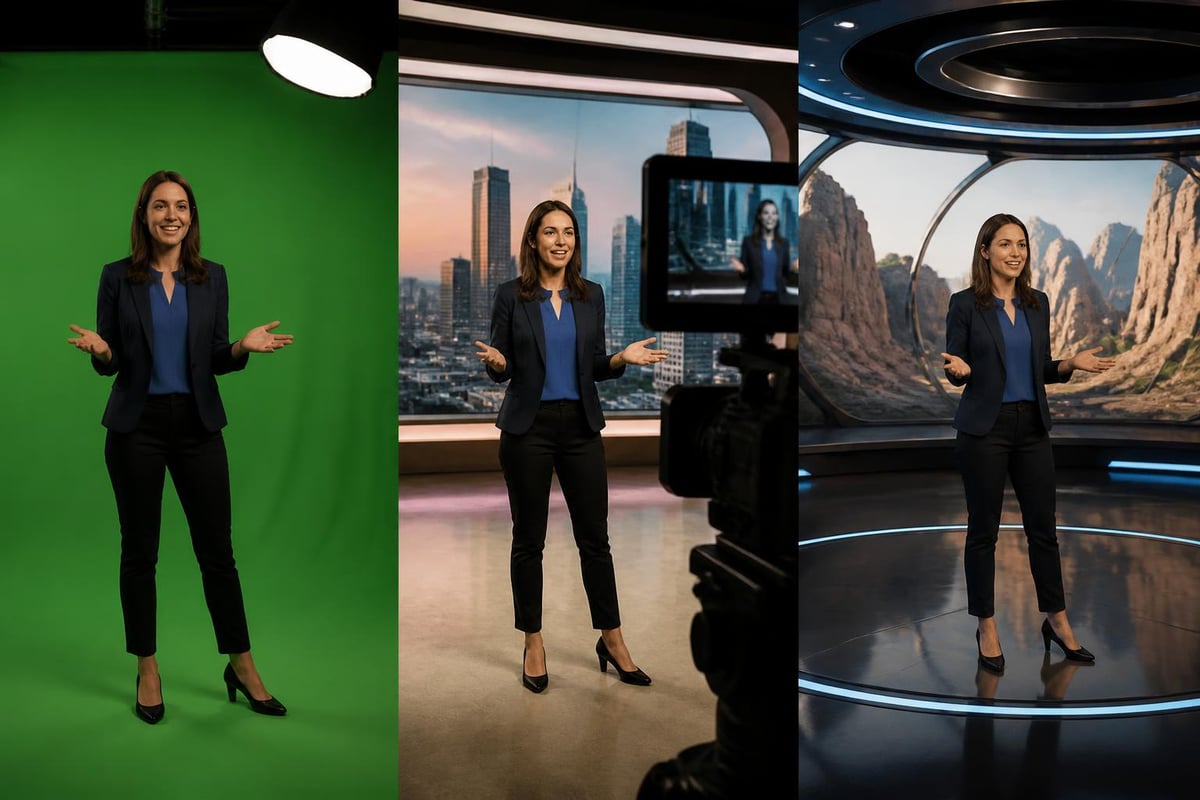
Understanding how virtual backgrounds work helps you get better results. There are two main approaches: green screen technology and AI-powered background removal.
Green Screen vs. AI Technology
Traditional green screen setups require you to sit in front of a solid-colored backdrop (usually bright green or blue). Software then removes that specific color and replaces it with your chosen background. This method offers excellent quality but requires specific equipment and lighting.
AI-based solutions are where things get interesting. Modern algorithms can distinguish between you and your background without any green screen at all. The software analyzes your video feed in real-time, identifies the human subject, and seamlessly replaces everything else.
| Feature | Green Screen | AI-Based |
|---|---|---|
| Equipment needed | Physical backdrop, lighting | Just your camera |
| Setup time | 15-30 minutes | Instant |
| Edge quality | Excellent with proper lighting | Very good to excellent |
| Portability | Limited | Works anywhere |
| Cost | $50-500+ for setup | Often free or low-cost software |
The quality of AI-based background removal has improved dramatically over the past few years. While green screens still offer slightly better edge detection in some cases, most users can't tell the difference in typical use cases.
Best Tools to Record Video With Virtual Background
Choosing the right software depends on your specific needs, budget, and technical comfort level. Let's break down your options.
Video Conferencing Platforms
Zoom makes it incredibly easy to record video with virtual background features built right in. Just enable virtual backgrounds in settings, choose or upload your background, and hit record. Microsoft Teams, Google Meet, and Webex offer similar functionality.
Pros of using conferencing platforms:
- Already familiar if you use them for meetings
- No additional software required
- Free with basic plans
- Simple one-click setup
Cons to consider:
- Limited customization options
- Recording quality tied to platform compression
- May require meeting setup even for solo recording
Dedicated Recording Software
Specialized screen recording tools often provide more control over your final output. If you're looking for a seamless browser-based solution for creating shareable video content, Mool lets you record directly from Chrome with professional features like password protection and instant sharing capabilities - perfect when you need to record video with virtual background and quickly distribute the results to your team.
Professional recording solutions offer features like higher resolution output, better compression, and advanced editing capabilities. OBS Studio (free and open-source) gives you broadcast-level control, though it has a steeper learning curve.
Mobile Solutions
Don't overlook mobile options. Apps for Android and iOS have become surprisingly powerful. Many creators prefer recording on mobile for social media content since the video is already optimized for vertical formats.
Setting Up Your Virtual Background Recording Space
Even with virtual backgrounds, your setup still matters. The right environment makes a huge difference in the final quality.
Lighting Is Everything
Here's the thing about AI background removal - it works by detecting edges and shapes. Poor lighting creates fuzzy boundaries that confuse the algorithm, resulting in choppy edges where you blend into the virtual background.
Position your main light source in front of you, slightly above eye level. This creates even illumination on your face and body, making it easier for the software to distinguish you from the background.
Quick lighting checklist:
- Primary light facing you from the front
- Fill light to reduce harsh shadows
- Avoid strong backlighting that creates silhouettes
- Natural window light works great if positioned correctly

Camera Positioning and Angles
Place your camera at or slightly above eye level. This creates the most flattering angle and provides the clearest view of your shoulders and upper body, which helps the background separation algorithm.
Sit at least two feet away from any physical walls behind you. This distance prevents shadows from interfering with edge detection and gives the AI cleaner data to work with.
Step-by-Step: Recording Your First Video
Let's walk through the actual process using common platforms. The steps are similar across most tools.
Using Browser-Based Tools
If you prefer working directly in your browser, screen recording extensions offer convenience without downloading heavy software.
- Install your chosen recording tool - Many browser extensions install in seconds
- Configure your virtual background - Upload custom images or select from provided options
- Adjust your camera settings - Check resolution, frame rate, and audio input
- Position yourself properly - Ensure good lighting and appropriate distance from camera
- Start recording - Hit record and deliver your content naturally
- Review and share - Preview your recording before distributing
Desktop Application Workflow
Desktop applications typically offer more robust features. Windows 10 users have built-in screen capture options that work alongside third-party virtual background tools.
The process usually involves opening your recording software, enabling the virtual background feature (often found in video settings), selecting your background image or video, positioning yourself in the frame, and hitting record.
Advanced Tips for Professional Results
Once you've mastered the basics, these advanced techniques will elevate your recordings from good to great.
Choosing the Right Background
Not all backgrounds work equally well. Solid colors or subtle patterns tend to work better than busy, highly detailed images. Match your background to your content's purpose - professional office scenes for business content, creative spaces for artistic topics, or branded backgrounds for marketing videos.
Background selection guidelines:
- Avoid backgrounds that are too bright or contain stark white areas
- Choose images with appropriate depth and perspective
- Match the lighting direction in your background to your actual lighting
- Keep it relevant to your content topic
- Test how it looks at different resolutions
Managing Motion and Edges
Stay relatively still while recording, especially if you're using AI-based background removal. Rapid movements can cause the algorithm to lag slightly, creating temporary glitches where the background shows through.
Your hair and clothing choices matter more than you'd think. Avoid wearing colors similar to your virtual background. Fine details like curly hair or loose clothing can create challenging edges for the software to process cleanly.
Common Problems and How to Fix Them
Even with the best setup, you'll occasionally run into issues. Here's how to troubleshoot the most common problems.
The "Ghosting" Effect
If parts of your body appear transparent or the background shows through you, it's usually a lighting issue. Increase the light on your subject (you) and ensure there's clear contrast between you and your physical background.
Choppy or Jerky Edges
This happens when your computer can't keep up with real-time processing. Close unnecessary applications, reduce your recording resolution, or update your graphics drivers. Performance optimization guides can help you squeeze more from your hardware.
Background Keeps Shifting
Some software struggles with certain background patterns or colors. Try switching to a different physical background behind you, even temporarily. Solid, medium-toned walls work best for AI detection.
Platform-Specific Considerations
Different platforms have unique strengths and limitations when you record video with virtual background.
Zoom Recordings
Zoom's virtual background feature works well for most users, but the quality of exported recordings depends on your plan. Free accounts get lower resolution exports, while paid plans offer higher quality options.
Recording directly in Zoom captures both your video feed and any shared screen content, making it ideal for tutorials and presentations.
OBS Studio Deep Dive
OBS Studio gives you incredible control but requires initial setup time. The virtual background functionality comes through plugins like VirtualCam or third-party tools that integrate with OBS.
| OBS Advantage | Why It Matters |
|---|---|
| Multiple scene layouts | Switch between different backgrounds and layouts |
| Custom transitions | Professional fade effects between scenes |
| Advanced audio mixing | Better control over voice, music, and system audio |
| Stream or record | Use the same setup for live streaming or recording |
Mobile App Recommendations
Mobile recording apps have caught up to desktop options in many ways. Apps like FilmoraGo, KineMaster, and native iOS/Android tools now support virtual backgrounds with impressive quality.
The main limitation is processing power - longer recordings may drain your battery quickly, and older devices might struggle with real-time background removal.
The Future of Virtual Background Technology
The technology continues to evolve rapidly. Researchers are developing new approaches to make virtual backgrounds more realistic and harder to distinguish from real environments.
We're seeing improvements in several areas:
- Better edge detection that handles fine hair and transparent objects more accurately
- 3D depth mapping that creates more realistic perspective as you move
- Augmented reality integration that blends virtual and real elements seamlessly
- Lower processing requirements that work on less powerful devices
Advanced frameworks for virtual production are bringing cinema-quality virtual backgrounds to everyday users. Expect these technologies to trickle down to consumer applications over the next few years.
Creating Your Recording Workflow
Consistency is key when you regularly record video with virtual background. Establish a repeatable workflow that saves time and ensures quality.
Pre-Recording Checklist
Before hitting record every time:
- Test your lighting setup and adjust as needed
- Verify your virtual background is loaded correctly
- Check audio levels with a quick test recording
- Close unnecessary programs to free up processing power
- Position yourself at the optimal distance from camera
- Do a quick wardrobe check to avoid color conflicts
Post-Recording Process
After recording, review your footage with a critical eye. Look for moments where the background separation failed or where lighting created issues. These observations help you improve your setup for next time.
Consider creating templates for different types of content. If you regularly record tutorials, create a tutorial background template. For team updates, maintain a branded background. This preparation means you can start recording immediately without setup time.
Making Virtual Backgrounds Work for Your Content
Different content types benefit from different approaches. A tutorial video has different needs than a product demo or a team announcement.
For educational content: Use simple, non-distracting backgrounds that keep focus on you and any screen content you're sharing. Consider backgrounds that subtly reinforce your topic - a library setting for academic content, for example.
For product demos: Clean, professional backgrounds that don't compete with what you're demonstrating. White or light gray backgrounds work well here.
For creative content: This is where you can get playful. Match your background to your content's mood and theme. Don't be afraid to use animated backgrounds or unconventional choices that support your creative vision.
Accessibility and Virtual Backgrounds
Think about how your virtual background choices impact accessibility. High contrast between you and your background helps viewers with visual impairments. Avoid busy patterns that might be distracting for viewers with attention-related challenges.
If you're adding text to your virtual background, ensure it's large enough and has sufficient contrast to be readable. Remember that many people watch videos on mobile devices where small text becomes even harder to see.
Recording video with virtual backgrounds has become an essential skill for anyone creating digital content in 2026, whether you're teaching, presenting, or building your brand. The technology has matured to the point where you don't need expensive equipment or technical expertise to achieve professional results - just good lighting, proper positioning, and the right software for your needs. If you're looking for a streamlined way to record, share, and review videos with all the professional features you need built right into your browser, Mool makes the entire process simple while keeping your content searchable and easily accessible to your team.