Recording to Video: Best Practices for Screen Capture
Recording to video has become an essential skill in 2026, whether you're creating tutorials, documenting processes, or sharing knowledge with your team. The ability to capture what's happening on your screen and turn it into a shareable video opens up countless possibilities for communication, training, and collaboration. But there's more to recording to video than just hitting the record button - the quality of your output depends on preparation, technique, and understanding the tools at your disposal.
Getting Your Setup Right Before Recording
Before you start recording to video, you need to nail down your technical setup. Your environment plays a huge role in how professional your final video looks and sounds.
Audio Quality Makes or Breaks Your Video
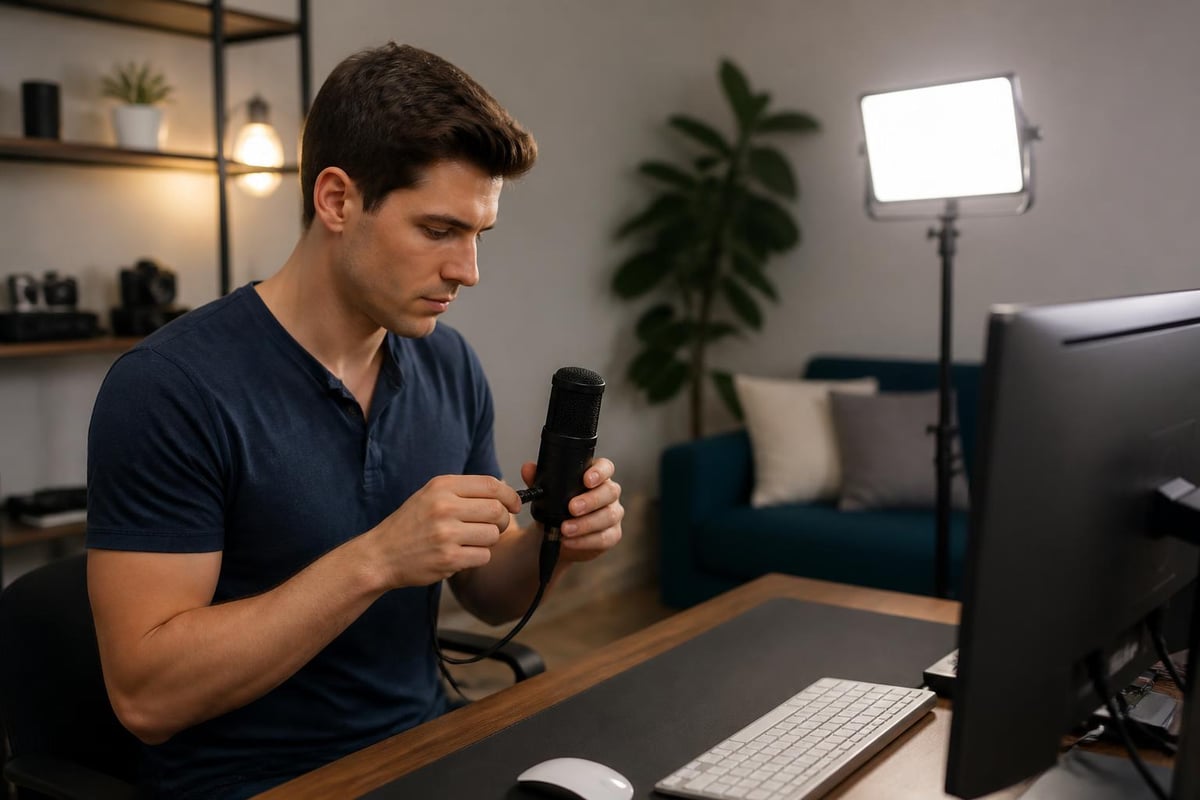
The audio quality in your recordings matters just as much as the visual quality. Most people will forgive slightly fuzzy video, but they'll close a video with bad audio in seconds.
- Use a dedicated microphone instead of your built-in laptop mic
- Test your audio levels before starting your actual recording
- Choose a quiet location away from background noise like air conditioning or traffic
- Wear headphones to monitor what you're actually capturing
According to best practices for webcam recording, positioning yourself appropriately and ensuring good eye contact can significantly improve viewer engagement. Even when you're primarily recording your screen, these principles apply when you include a webcam feed.
Lighting and Visual Clarity
When recording to video with a webcam component, lighting transforms your presentation from amateur to professional. Position yourself facing a window or use a desk lamp to illuminate your face evenly.
For pure screen recordings, focus on your display settings instead. Increase your screen resolution if needed, but remember that higher resolutions create larger file sizes. Most viewers are perfectly happy with 1080p quality.
Technical Settings That Impact Quality
The settings you choose before recording to video directly affect your final output quality, file size, and how easily you can share your videos.
Frame Rate and Resolution Balance
| Setting | Best For | File Size | Quality |
|---|---|---|---|
| 720p at 30fps | Quick tutorials, internal docs | Small | Good |
| 1080p at 30fps | Professional presentations | Medium | Better |
| 1080p at 60fps | Software demos, gaming | Large | Best |
| 4K at 30fps | High-end production | Very Large | Excellent |
You'll want to match your frame rate to your content type. Standard tutorials work perfectly at 30 frames per second, but if you're capturing fast-moving content or detailed animations, bump it up to 60fps.
The video format characteristics guide explains how different formats preserve quality over time. This becomes important when you're creating content that needs to remain accessible for years.
Choosing the Right Recording Area
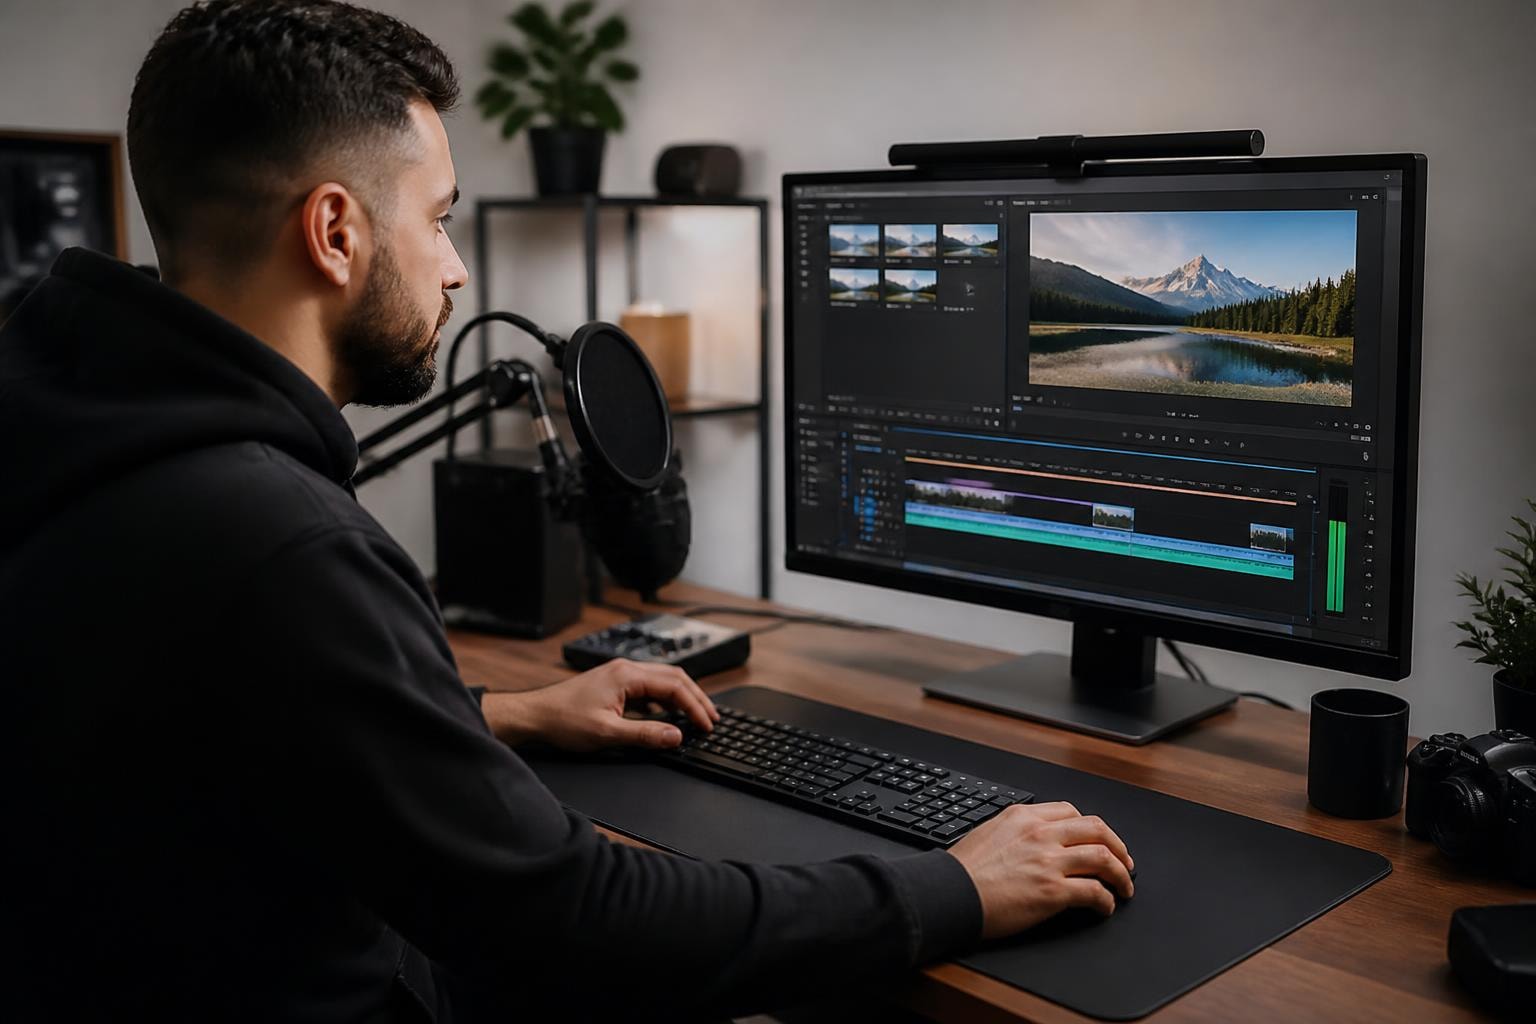
When recording to video from your screen, decide whether you need the full screen, a specific window, or just a portion of your display. Full screen captures work great for presentations, while window-specific recordings keep viewers focused on the application you're demonstrating.
Browser-based tools like Mool make this decision easy by offering flexible recording options right from your Chrome browser. You can switch between full screen, window, or tab recording depending on what you're trying to show.
Pre-Recording Preparation Steps
Smart preparation saves you from awkward edits and re-recording sessions later. Think of it like rehearsing before a performance.
Clean Up Your Digital Environment
- Close unnecessary tabs and applications to avoid notifications popping up
- Clear your desktop of sensitive or irrelevant files
- Prepare your script or outline so you know what you'll cover
- Test your recording tool with a quick 10-second trial run
- Disable system notifications that might interrupt your flow
Nothing screams "unprofessional" like personal messages popping up mid-recording. Take two minutes to clean house before you start.
Practice Your Delivery
Run through what you plan to say at least once. You don't need to memorize a script word-for-word, but having talking points helps you sound confident and keeps you from rambling. The educational video best practices research shows that well-prepared presenters create more engaging content.
If you're recording a process demonstration, actually perform the steps once before recording. You'll catch any issues and smooth out your workflow.
Recording Techniques for Better Results
The actual recording to video process requires focus and technique. Small adjustments to how you record make massive differences in your final product.
Speaking and Pacing
Talk slightly slower than you would in normal conversation. When people get nervous or excited about their topic, they tend to speed up. Your audience needs time to process what you're saying while also watching what's happening on screen.
- Pause between major points to let information sink in
- Vary your tone to maintain interest
- Avoid filler words like "um" and "uh" by planning your phrases
- Emphasize key actions you're performing on screen
Cursor Movement and Screen Actions
Your mouse cursor becomes a teaching tool when recording to video. Move it deliberately, not frantically. Slow, purposeful movements help viewers follow along with what you're demonstrating.
Circle the cursor around important elements or click slowly enough that viewers can see exactly where you're clicking. If you're typing, go at a reasonable pace - not hunt-and-peck slow, but not blazing fast either.
Managing Different Recording Scenarios
Not all recording to video situations are created equal. Different content types require different approaches.
Tutorial and Educational Content
When creating instructional videos, structure matters enormously. Start with what you're teaching, show each step clearly, and summarize what was accomplished.
The filming techniques for classroom videotaping guide emphasizes the importance of clear framing and consistent recording settings. These principles transfer perfectly to screen recording scenarios.
Break complex processes into shorter videos rather than creating one marathon recording session. People retain information better in chunks, and shorter videos are easier to reference later.
Live Demonstrations and Software Walkthroughs
Software demos need special attention because you're often showing detailed interfaces. Zoom in on specific areas when necessary, especially if you're capturing small text or icons.
Use keyboard shortcuts to demonstrate efficiency, but also show where menu items are located for viewers who don't know the shortcuts yet. Explain what you're doing as you do it - don't assume viewers can read your mind.
Meeting and Presentation Recordings
Recording meetings or presentations requires capturing both the speaker and any shared content. Consider using tools that let you record your screen with audio to ensure you're getting both the visual presentation and the commentary.
| Scenario | Priority Focus | Duration Tip |
|---|---|---|
| Quick tutorial | Clear steps | Under 5 minutes |
| Software demo | Feature highlights | 8-12 minutes |
| Full training | Comprehensive coverage | Multiple short videos |
| Meeting recap | Key decisions | 3-7 minutes |
Post-Recording Quality Checks
After you finish recording to video, don't immediately close everything and walk away. A quick review saves you from discovering problems later when it's too late to fix them.
Immediate Review Process
Watch your recording all the way through, or at least skim through it checking for major issues:
- Audio clarity throughout the entire recording
- Visual quality remains consistent
- No accidental captures of sensitive information
- All intended content was actually recorded
- Beginning and ending are clean
If you spot problems, it's better to re-record now while everything is still fresh and set up.
File Organization and Naming
Create a logical system for naming and organizing your video files. Include the date, topic, and version number if you're creating multiple takes.
2026-05-29_Product-Demo_v1.mp4
2026-05-29_Team-Training_Part1.mp4
This saves you from the nightmare of trying to find "Screen Recording 47.mp4" three months from now.
Optimizing for Different Platforms and Uses
Where your video ends up matters when you're recording to video. Different platforms have different requirements and best practices.
Internal Team Documentation
For internal use, you can often use larger file sizes and less compression. Quality matters more than file size when you're creating resources your team will reference repeatedly.
Consider using screen recording tools that offer searchable transcripts. Being able to search for specific moments in training videos or process documentation saves enormous time.
Client-Facing Content
When creating videos for clients or customers, polish matters more. According to video recording best practices for professionals, attention to details like background selection, camera steadiness, and proper file formats distinguishes professional content from amateur recordings.
Compress files appropriately for faster loading, add captions for accessibility, and consider adding branded intros or outros.
Social Media and Marketing
Short-form content performs better on social platforms. When recording to video for marketing purposes, front-load your most important information. Viewers decide whether to keep watching in the first three seconds.
The best practices for recording on mobile devices remind us that horizontal orientation works better for most platforms, though vertical video has its place on mobile-first platforms.
Common Mistakes to Avoid
Even experienced creators make mistakes when recording to video. Awareness helps you sidestep these common pitfalls.
Technical Errors
Recording at the wrong resolution wastes storage space or produces pixelated results. Match your recording quality to your intended use.
Forgetting to test audio leads to discovering you've recorded 30 minutes of silent video. Always do a test run.
Not checking available storage space means your recording might cut off unexpectedly. Verify you have enough room before starting lengthy recordings.
Content and Presentation Issues
Rambling without structure makes videos hard to follow. Plan your content flow before you hit record.
Moving too fast through steps assumes your audience already knows what you're teaching. Remember, they're watching to learn - go at a learner's pace.
Skipping the cleanup step means viewers see your messy desktop or get distracted by notifications. A clean recording environment shows professionalism.
Advanced Recording to Video Strategies
Once you've mastered the basics of recording to video, these advanced techniques take your content to the next level.
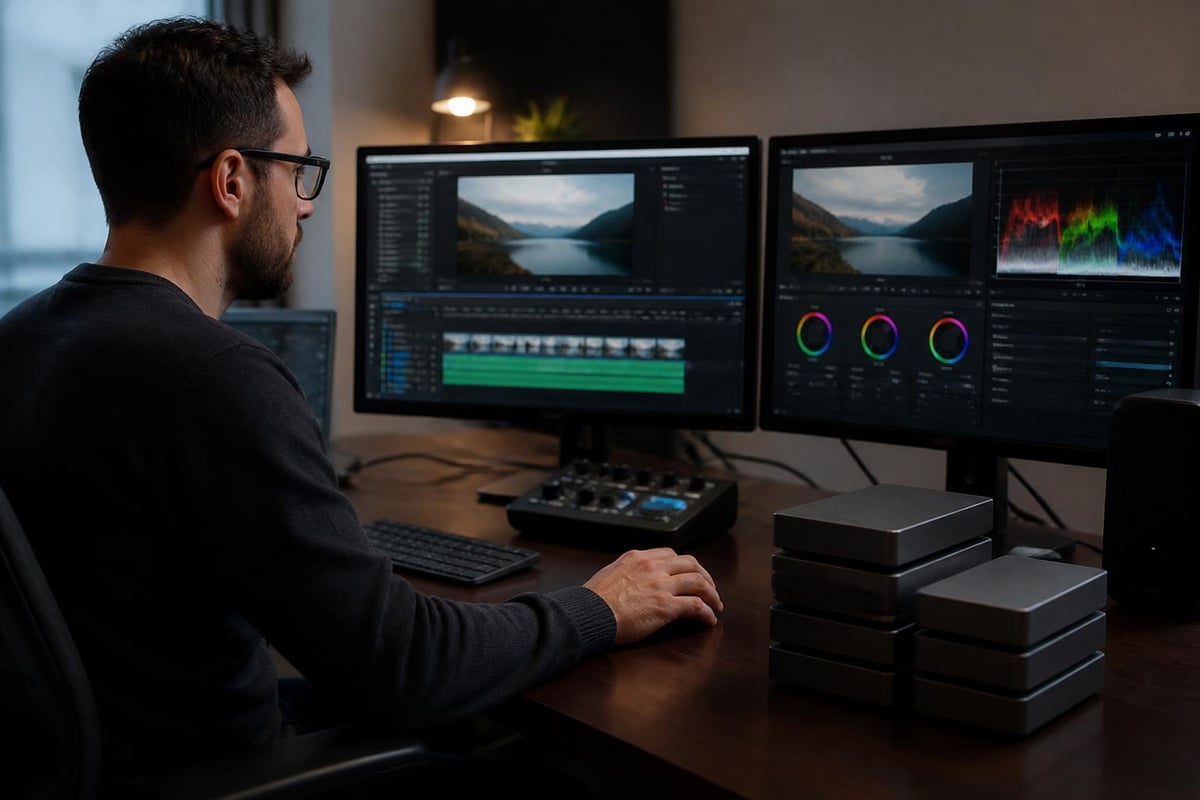
Multi-Track Recording
Some tools let you record your screen, webcam, and audio as separate tracks. This flexibility makes editing easier because you can adjust each element independently.
You might want to zoom your webcam view for introductions, shrink it during detailed screen work, or remove it entirely for certain sections.
Annotation and Highlighting
Adding real-time annotations while recording to video helps direct viewer attention. Arrows, circles, or text callouts emphasize important elements without requiring post-production editing.
Tools with built-in annotation features let you mark up your screen as you record, making your demonstrations clearer and more professional. You can explore additional features that enhance your recording capabilities.
Template and Workflow Creation
If you regularly create similar videos, develop templates for your recording setup. Save your preferred resolution, audio settings, and recording area selections so you're not configuring everything from scratch each time.
Create checklists for different video types - tutorial checklist, demo checklist, meeting recording checklist. Consistent preparation leads to consistent quality.
Sharing and Collaboration Considerations
Recording to video is only half the battle. Getting your content to the right people efficiently completes the workflow.
File Size and Compression
Balance quality against file size based on how you're sharing. Email attachments typically max out around 25MB, while cloud storage handles much larger files.
Consider recording at high quality, then compressing for distribution if needed. You can always make a file smaller, but you can't add quality that wasn't captured originally.
Access Control and Security
When sharing sensitive recordings, use platforms that offer password protection or restricted access. Not every video should be publicly accessible.
The planning and recording tips from educational institutions emphasize thinking about your audience and how they'll access your content before you start recording.
Searchability and Discoverability
Videos buried in folder structures don't help anyone. Use descriptive titles, add relevant tags or keywords, and consider platforms that make your recordings searchable.
Having searchable transcripts turns your video library into a knowledge base. Team members can find specific information without watching hours of content.
Mastering recording to video takes practice, but the investment pays off in clearer communication and more effective knowledge sharing. Whether you're creating tutorials, documenting processes, or capturing presentations, these techniques help you produce professional results. Ready to start creating better screen recordings? Mool simplifies the entire process with browser-based recording, AI-powered searchability, and instant sharing - so you can focus on your content instead of wrestling with complicated software.